

6 Handmade Home Decor Crafts You Can Make on a Budget
The best handmade home decor crafts use cheap materials, take under three hours, and need no special tools. Start with the block printed pillow cover if you want something that looks store-bought, the painted candlesticks if you have an hour and about $15, and the macrame plant hanger if you like repetitive knotting. The wreath suits seasonal decorating, the framed textile suits renters, and the clay dish suits anyone who wants a quick gift.
Most handmade decor ideas online fail the same way. They show a polished photo and skip the real cost, the real time, and the mistakes that ruin a first attempt. You end up with a bag of supplies and a half-finished project in a closet.
This list gives you six projects with a materials list, numbered steps, and an honest cost and time estimate for each. At KOREDECOR we sell artisan-made Indian textiles, so we spend our days around block prints, wool and linen, and a few of these projects borrow from that world. Every one can be done at a kitchen table.
1. Hand block printed pillow cover
A hand block printed pillow cover is the craft that looks most expensive for the least money. You carve a simple motif into a soft block, stamp it on plain linen, and repeat it in a grid. Artisans in India have printed textiles this way for centuries with carved wooden blocks, and the method scales down to a kitchen table.
What you need
Buy a plain linen or cotton cover and a soft-cut carving block, then add the rest of the kit below.
- A plain 20 x 20 inch linen cover, washed and ironed
- A soft-cut block, about 4 x 4 inches, and a carving tool
- Fabric ink (not regular acrylic paint) and a brayer or foam brush
- Scrap fabric for test prints and a piece of cardboard
- An iron
How to make it
Work in this order and test every print on scrap first, because a stamp behaves differently on cloth than on paper.
- Draw a simple motif, such as a leaf or a dotted flower, about 2 inches wide on the block.
- Carve away everything that should stay blank, keeping your cuts shallow.
- Slip the cardboard inside the cover so ink cannot reach the back.
- Roll a thin, even coat of ink onto the block, press for a few seconds, and lift straight up.
- Print in a grid, using light chalk dots to keep the spacing even.
- Let the ink dry, then heat set it with an iron as the ink label directs.
Roll the ink thin, because a blurry print almost always means too much ink.
Cost, time and who it suits
Expect to spend roughly $30 to $45 and about two hours, plus drying time. The plain cover is the biggest cost at around $15 to $25, and the block and ink make up the rest.
This project suits patient beginners who enjoy repeating patterns. If you want to study how a professional repeat is spaced before you carve, KOREDECOR's artisan-made block print pillow covers show floral and geometric layouts on pure linen.
2. Painted candlesticks
Painted candlesticks turn a $3 thrift store find into a mantel piece in an afternoon. Wooden holders take paint well, and a coat of color hides dents, mismatched finishes and old brass. You only need one paintbrush and some patience for the second coat.
What you need
Look for solid wood or turned wood holders with simple profiles, since detailed carving traps paint.
- Three to five thrifted wooden candlesticks in different heights
- Fine sandpaper and a damp cloth
- Acrylic craft paint in two colors, plus a small detail brush
- Painter's tape for stripes
- Matte water-based sealer
How to make it
Sand lightly before painting, because glossy old finishes make acrylic peel.
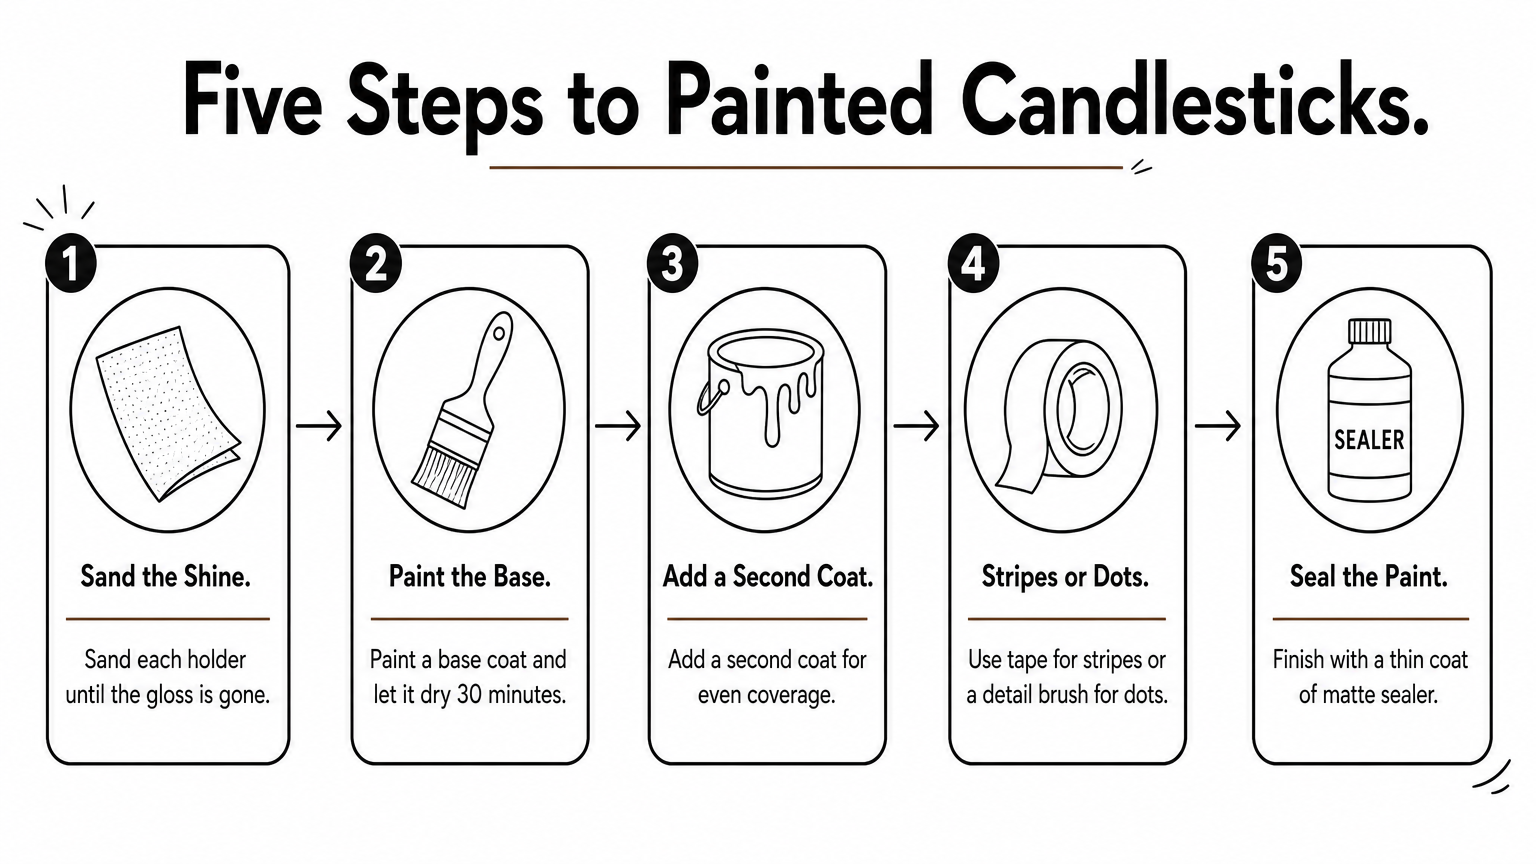
- Sand each holder until the shine is gone, then wipe off the dust.
- Paint a base coat and let it dry for 30 minutes.
- Apply a second coat for even coverage.
- Add stripes with painter's tape or dots with the detail brush.
- Seal the dry paint with a thin coat of matte sealer.
Group the finished holders using the 3-5-7 rule, which says objects look best arranged in odd numbers. Mix heights, and keep one color repeated across the group so the set reads as intentional.
Odd numbers and varied heights make a cheap candlestick set look styled.
Cost, time and who it suits
Plan on about $10 to $20 for a group of three, and about an hour of work spread over a few hours of drying. This is the best project here if you have never crafted before. It also suits anyone who wants an easy way to bring a color from a pillow or blanket onto a shelf.
3. Macrame plant hanger
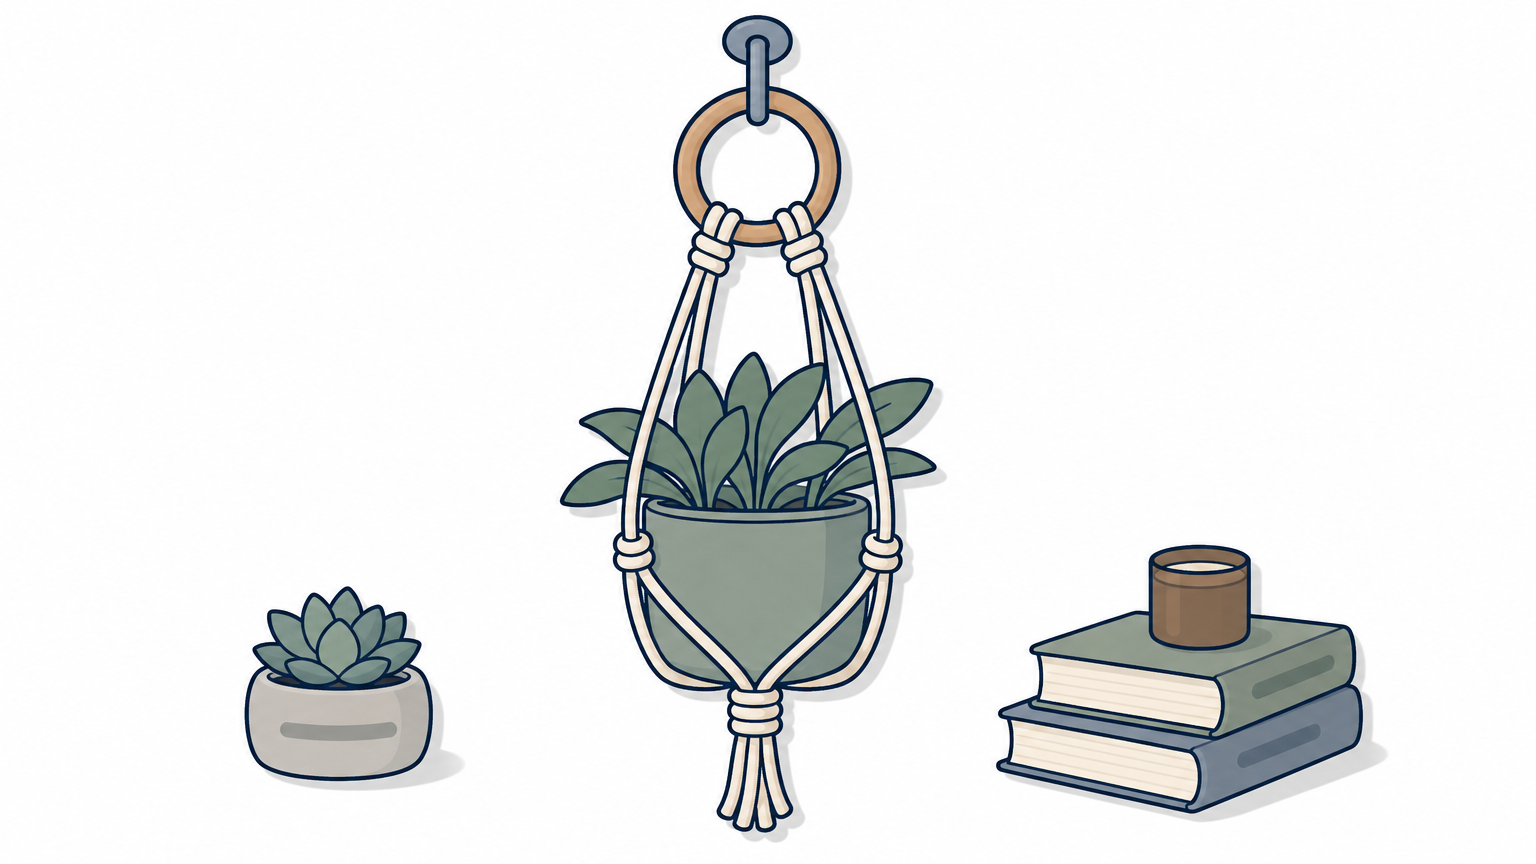
A macrame plant hanger needs two materials and one knot, which makes it the easiest way to learn macrame. It frees up shelf space, adds texture to a window corner, and holds a pot with no hardware beyond a ceiling hook.
What you need
Choose soft cotton cord if you want a clean look, or jute twine if you like a rustic one. Jute sheds a little and feels rougher.
- A wooden ring, about 2 inches across
- Four lengths of cord, each about 10 feet long
- One extra short cord for wrapping
- A sturdy ceiling hook and a 6 inch pot
- Scissors
How to make it
Hang the ring from a doorknob while you work so both hands stay free for knotting.
- Fold the four cords in half over the ring to make eight strands.
- Wrap the short cord around the bundle about 5 inches below the ring and tie it off.
- Split the strands into four pairs. Tie a square knot in each pair, about 6 inches below the wrap.
- Join one strand from each neighboring pair and tie knots 4 inches lower.
- Gather everything with a second wrap, leaving a gap for the pot, and trim the tails.
A watered pot weighs more than it looks, so test the hanger with the pot before you trust the hook.
Cost, time and who it suits
Materials run about $10 to $15 per hanger, and the first one takes around 90 minutes. Later ones take half that. It suits plant owners and small apartments, and the finished hanger makes a good gift.
4. Painted pinecone flower wreath
A painted pinecone wreath turns free materials into a bright, flower-shaped door or wall piece. You trim each cone down to its middle section, which opens like a petalled bloom, then paint and glue the blooms to a grapevine base. It is the most seasonal project on this list, but colored pinecones work in any month.
What you need
Gather a bag of mixed pinecones from a park or yard, preferring ones with wide, open scales.
- 20 to 30 pinecones, depending on wreath size
- A grapevine wreath form, 10 to 12 inches
- Sharp garden pruners
- Acrylic paint in three or four colors
- A hot glue gun and glue sticks
How to make it
Bake the cones first. Dry pinecones at about 200°F for roughly an hour, on a foil-lined tray, to melt sap and remove any bugs.
- Cut off the top and bottom of each cone, leaving the flower-shaped middle.
- Paint the tips of the scales first, then fill the center.
- Arrange the painted blooms on the wreath form before gluing to check spacing.
- Glue each bloom in place, working from the outside in.
Cutting is the hard part. Sharp pruners save your hands, because dull ones make this step sore and slow.
Lay out the whole design dry before you glue, since hot glue does not forgive a bad layout.
Cost, time and who it suits
Budget about $15 to $25, mostly for the form and paint, and about three hours with painting breaks. It suits crafters who like a hands-on project with a dramatic result. If you want less cutting, swap the cones for dried flowers on the same base.
5. Framed textile wall art
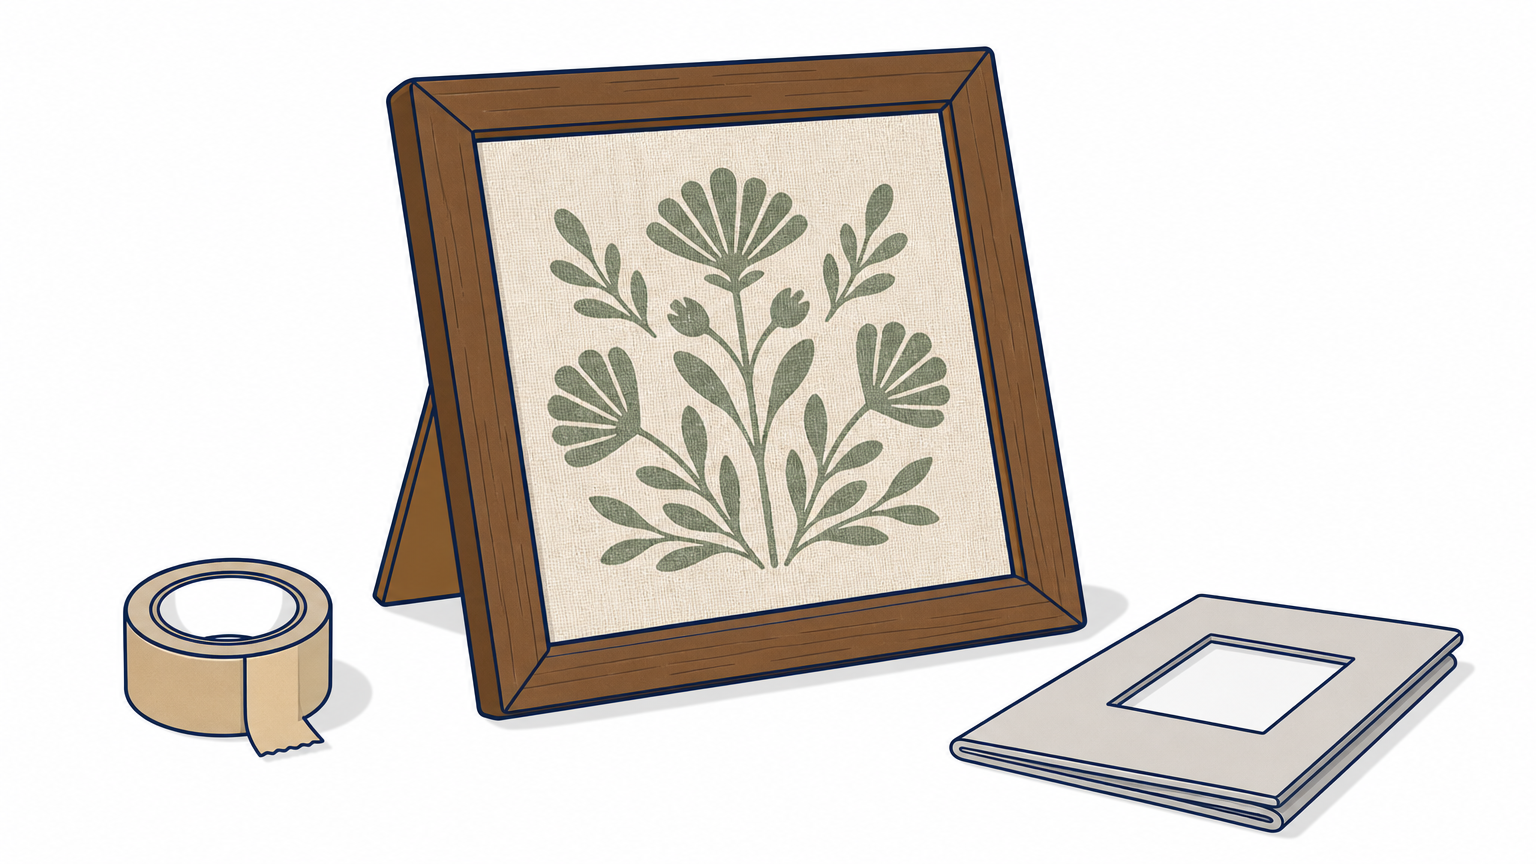
Framed textile art is the fastest way to put pattern on a wall without paint or a gallery budget. A small piece of fabric you already love becomes the artwork. Good candidates are a vintage embroidered tea towel, a linen remnant, or a scrap of block print left over from another project.
What you need
Pick a frame with a mat if you want a gallery look, and without one if you prefer a casual one.
- A thrifted frame, at least 8 x 10 inches
- A fabric piece slightly larger than the frame opening
- Foam core or sturdy cardboard cut to the frame's size
- Packing tape or a staple gun
- A low-heat iron
How to make it
Press the fabric first, because wrinkles look much worse behind glass than they did on the table.
- Iron the fabric on a low setting suited to its fiber.
- Center it over the foam core and fold the edges to the back.
- Pull the fabric taut and tape or staple it, working from the center of each side outward.
- Place it in the frame, add the mat if you have one, and close the back.
Light linen can show the board behind it. If that happens, wrap white paper under the fabric to keep the color even.
Pulling the fabric tight from the center of each side is what keeps the finished piece flat.
Cost, time and who it suits
This is a $10 to $30 project that takes about 30 minutes. It suits renters, since a framed piece hangs from a single nail or an adhesive strip, and anyone who owns a meaningful scrap of fabric.
6. Air-dry clay trinket dish
An air-dry clay dish gives you a handmade catch-all for rings, keys and earrings without a kiln. The clay hardens on its own, and a pinched edge or a simple painted rim makes each dish look slightly different. That is the point of handmade work.
What you need
Buy a block of air-dry clay labeled for hand building, and check the drying time on the package.
- Air-dry clay, about one pound
- A rolling pin and a small bowl or lid as a template
- A shallow bowl lined with plastic wrap as a mold
- Fine sandpaper, acrylic paint and a brush
- Clear water-based sealer
How to make it
Keep the clay evenly thick. Roll it to about a quarter inch, since thin spots crack as the dish dries.
- Roll out the clay and cut a circle with your template.
- Press it gently into the lined bowl and smooth the rim with a damp finger.
- Let it dry, flipping it over after the first day, until it is hard all the way through. This usually takes one to three days.
- Sand the rim, paint the dish, and brush on two coats of sealer.
Slow, even drying is the difference between a keepsake dish and a cracked one.
Cost, time and who it suits
Plan on about $10 to $15 and 30 minutes of active work, with the rest spent waiting. Air-dry clay is not waterproof or food safe, so keep the dish dry and use it for small objects only. It suits gift makers and anyone who wants a quick way to try sculpting.
Pick one and start
Choose the project that fits your time and budget, not the one with the prettiest photo. The candlesticks and the framed textile take an hour or less, the wreath and the macrame hanger fill an afternoon, and the block printed pillow cover rewards the most patience. Every one of these home decoration ideas costs under $50 and uses tools you can find at a craft store or thrift shop.
If you try the pillow cover and decide you would rather see the real thing first, browse our artisan-made block print pillow covers. They are made by artisans in India, in pure linen with a Kala cotton back, and they make a good reference for your own prints.


